Accessing the Person Profile
- Select the Persons tab to access the Search for Person(s) screen.
- Enter parameters and select the Search Persons button. By default the search will be conducted within your institution, but you can expand this search to look outside of your institution by clearing the Search for persons who have a Commons affiliation with my institution box.
NOTE: You must enter a Commons ID, Person ID, -or- Last Name to perform a search.
All records matching the entered search criteria display in the Person(s) section of the screen. If no programs meet the entered criteria, the following message displays: Nothing found to display.
The matching records are presented in a table and include the following related information:
- Person Name
- Commons User ID
- Person ID
- Commons Institution
NOTE: After searching for persons, the create a new xTRACT person record here link becomes available. Select this button to access the Create xTRACT Person screen. Refer to the topic titled Refer to Create xTRACT Person more information.
- Select the Edit link for the specific person profile being modified.
The xTRACT Person Profile screens displays for the selected person. Person Data, Sources of Support, Degrees, and Employment can all be maintained in this profile.
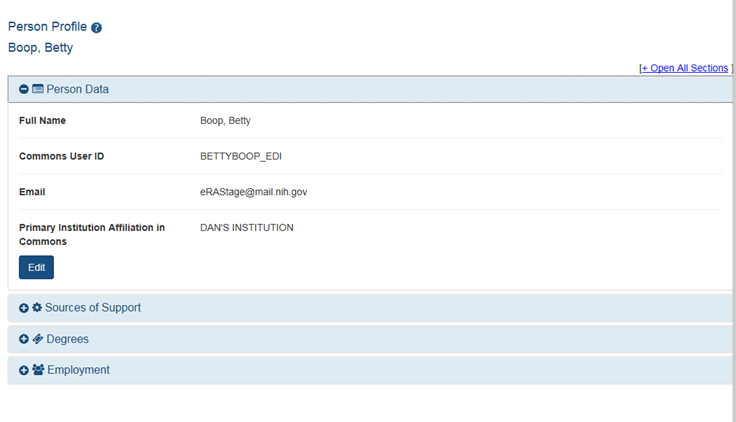
Person Data
Use the View link in the Person Data panel of the xTRACT Person Profile to display the following information:
- Full Name
- Commons User ID
- Primary Institution Affiliation in Commons
Use the Edit links to open the fields for editing. Commons User ID cannot be edited.
Sources of Support
NOTE: This section applies to pre-doc and and post-doc trainees only.
Sources of support, both within and outside of NIH, can be maintained in this section. Use the View button on the collapsed panel to display the information.
IMPORTANT: You must first select the Edit button to open the fields for editing.
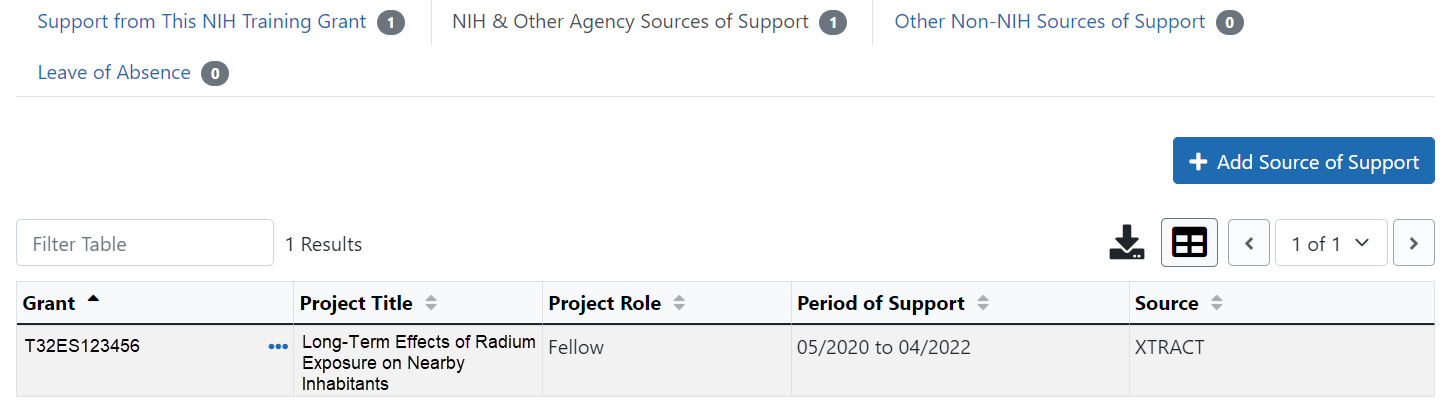
NIH Sources of Support
NIH & Other Agency Sources of Support include the Grant number, Project Title, Project Role, Period of Support, and Source.
To add additional NIH or Other Agency support:
- Enter Start of Funding and End of Funding to indicate the dates of this person's involvement.
- Click the Save and Exit button.
- Click the
 three-dot ellipsis button and select Edit to modify the source of support.
 -
(Optional) To remove the source of support, click the
three-dot ellipsis button and select Delete.
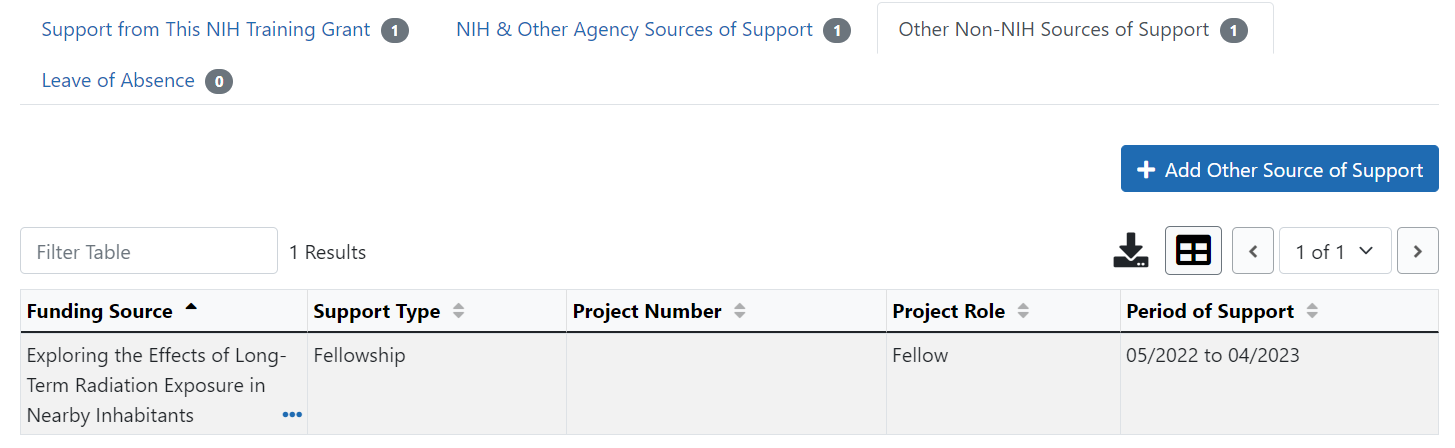
Other Sources of Support
Other non-NIH sources of support include Funding Source, Support Type, Project Number, Project Role, and Period of Support.
To add a source of support:
-
To search:
- Enter search criteria in the fields and click the Search Funding Sources button.
- Click the
 Select this Funding Source button for the correct project. The Enter Source of Support Details screen is displayed.
 - Select the trainee's role from the Role during funding drop-down. If you select Other, enter a description in the Other role description field.
- Enter Start of Funding and End of Funding to indicate the dates of this person's involvement.
- Click the Save and Exit button.
- To create a new source of support:
- Perform a search, which displays the information box.
- In the Information box (at the top or bottom of the list), click the create a new funding source here link.
- Complete the fields and then click Create Funding Source button.
- Select the trainee's role from the Role during funding drop-down. If you select Other, enter a description in the Other role description field.
- Enter Start of Funding and End of Funding to indicate the dates of this person's involvement.
- Click the Save and Exit button.
Leave of Absence
You can specify a Leave of Absence in this section to account for periods when the trainee remains on the grant but does not receive support from the grant.
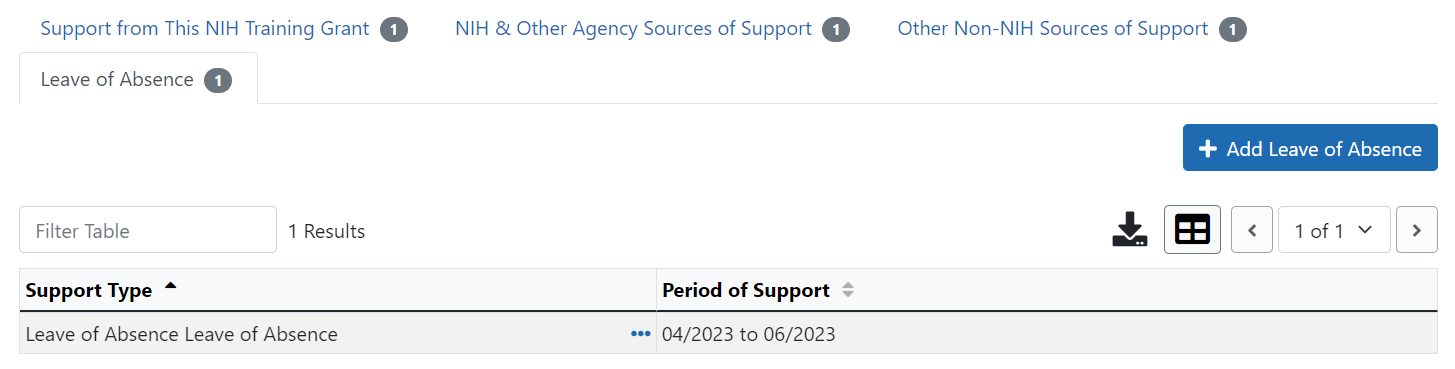
To add a Leave of Absence:
- Click the Add Leave of Absence button.

- In the Add Leave of Absence Period window that appears, enter the start month/year and end month/year for the leave of absence.
- Click Save.
Degrees
Click on the collapsed panel to display degree details. xTRACT displays a list of completed degrees and associated data in reverse chronological order, with incomplete degrees following.
The Source of degrees is displayed as read-only as xTRACT (meaning that the degree was added to the person in xTRACT) or as Commons Profile (meaning that the degree is from the Commons Personal Profile of the person).
Select the Edit button to open the fields for editing.
To add a degree:
- Select the Add
- Update the fields:
- Degree: Select from the list.
- Other Degree Text
- Degree Date: Enter in MM/YYYY format
- Terminal Degree: Select the Yes or No radio button as appropriate. When the Yes button is selected, the terminal degree indicator (This is your terminal degree.) displays next to the degree details in the view.
- Degree Status: Select Completed or In Progress, as appropriate
- Degree Institution: Enter the institution name, one institution per degree. You search for an institution by selecting the magnifying glass search icon.
- Select the Save
- Repeat for any additional degrees.
Use the Edit and Delete links in the Action column to update or remove degree information as necessary. Degrees with Commons Profile as a Source cannot be deleted.
Employment
Click on the collapsed panel to display information about post-training employment positions. The employment positions are categorized as follows:
- Primary Position
- Current Positions
- Past Positions
The Source of positions is displayed as read-only as xTRACT (meaning the position was added or updated for the person in xTRACT) or as Commons Profile (meaning the position is from the Commons Personal Profile of the person).
Select the Edit button for the appropriate position type to open the fields for editing.
To add employment:
- Select the Add Employment button.
- Provide the following information:
- Workforce Sector: Choose the area of employment: Academia, Government, For-Profit, Nonprofit, Other.
- Principal Activity: Primarily Research, Primarily Teaching, Primarily Clinical, Research-Related, Further Training, or Unrelated to Research.
- Position: Type the title of the position.
- Start Date: Type the month/year the position started.
- End Date: Type the month/year the position ended, or leave blank if employed to present time.
- Primary Employment Indicator: Select Yes if this is the main employment; otherwise, select No.
- Full Time Employment Indicator: Select Full-Time or Part-Time
- Current/Initial Employment Indicator: Select Primary Initial if this is the initial employment for the trainee, or select Primary Current if it is the current employment.
- Institution: Enter the institution or start typing to see matches to your typed text.
- Primary Department of Position: Enter the department or start typing to see matches to your typed text. Matches for the selected Institution are shown.
- Click the Save button to save your changes.
Use the Edit and Delete links in the Action column to update or remove the funding source as necessary. Positions with a Source of Commons Profile cannot be deleted.
