Create System Accounts
System accounts are used to access eRA Web Services.
Agency and Commons, users can create system accounts.
To create a system account, first perform a search to make sure the account you want to create does not already exist. For instructions see
NOTE: The + Create New Account button described below is not available until you perform a search.
Review the search results to see if the account you want already exists, and if not, create a new account using one of the following options:
-
Click the + Create New Account button that appears below the search results:

-
OR, click the ellipsis action menu icon next to a user's name and select Create System Account Using Profile:

The Create Account screen opens. Complete the require fields in the following sections:
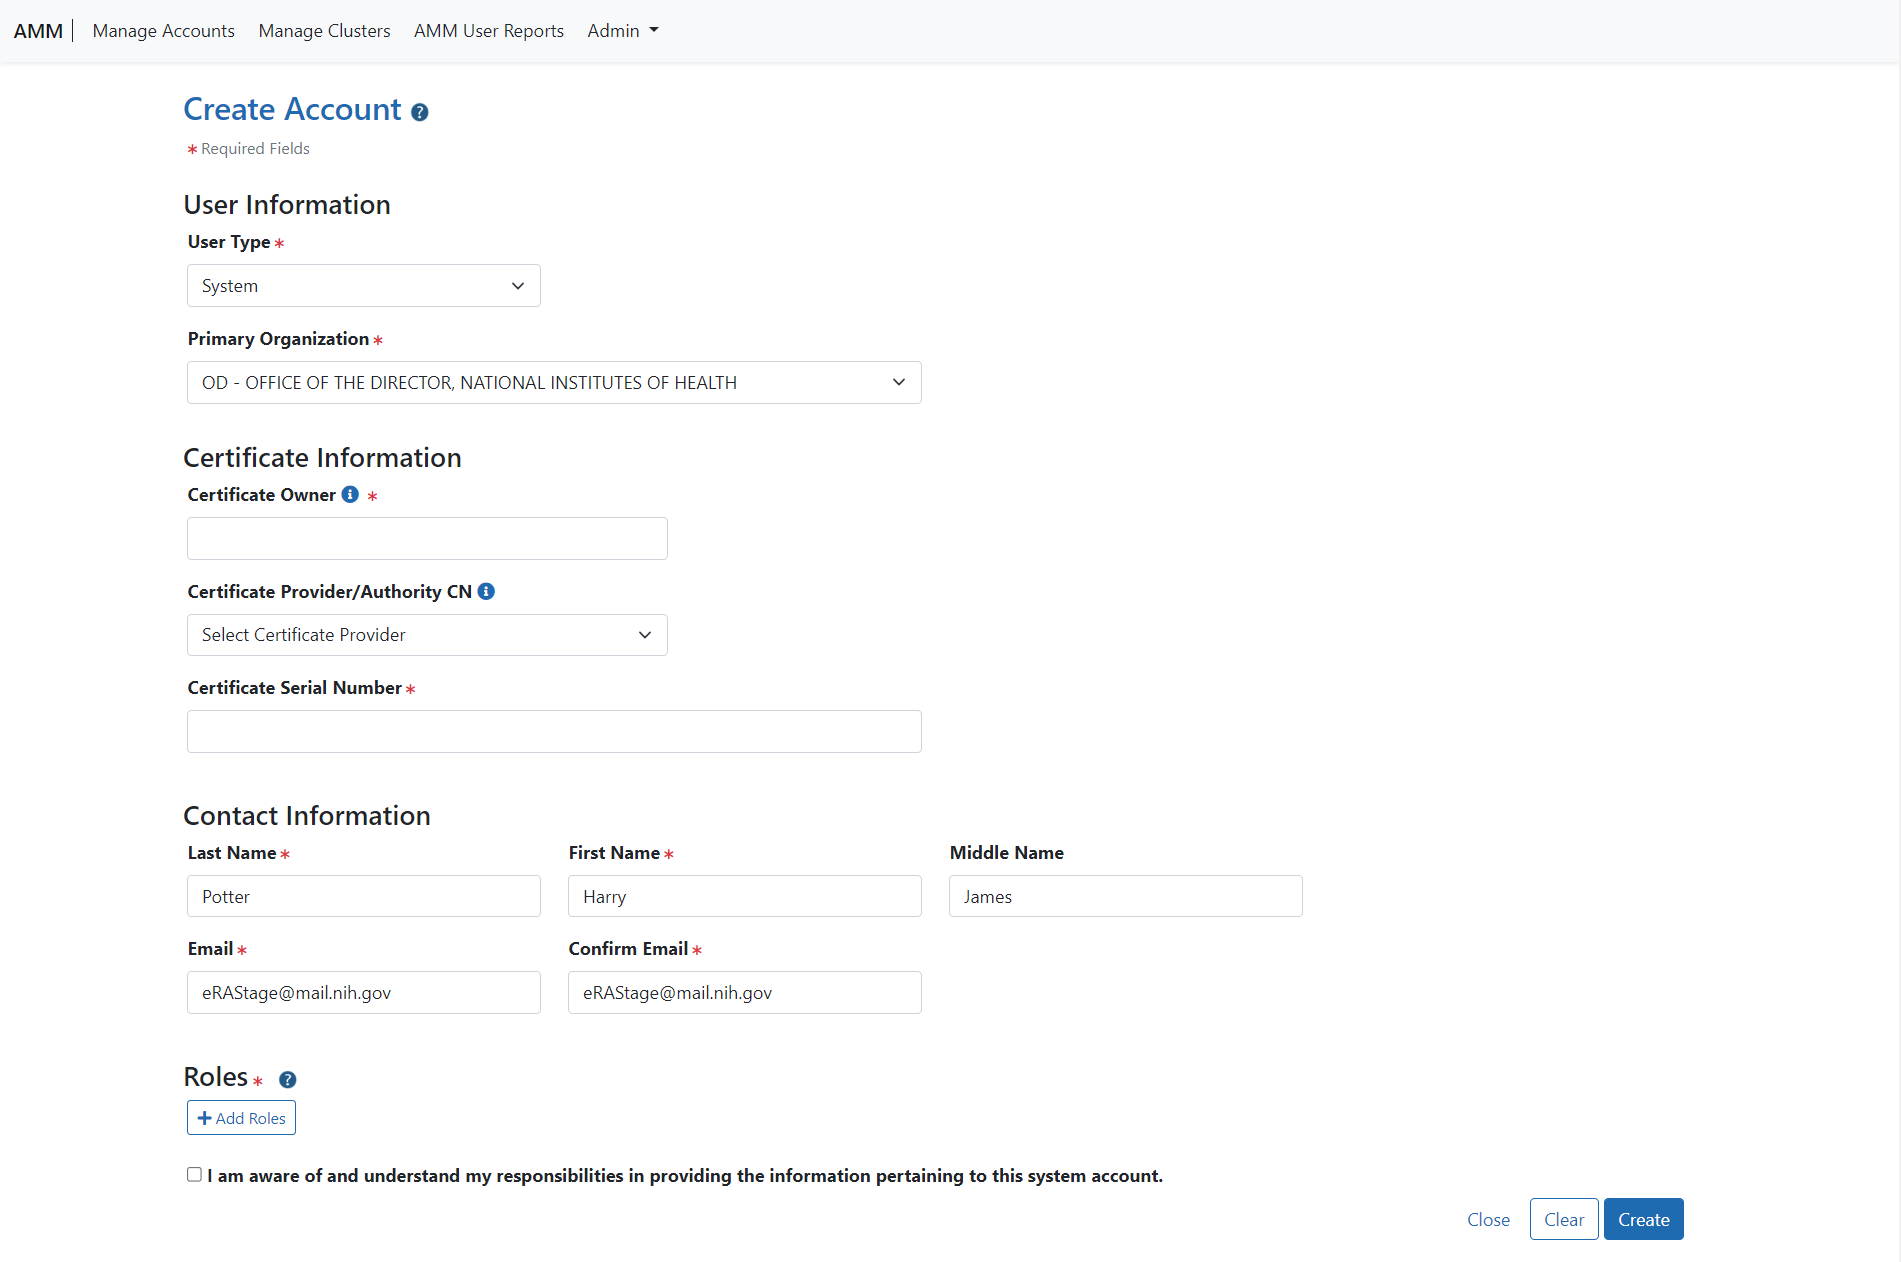
 User Information
Certificate Information


Contact Information
Complete the following fields:
Roles

Select the Agreement checkbox below the Roles section.
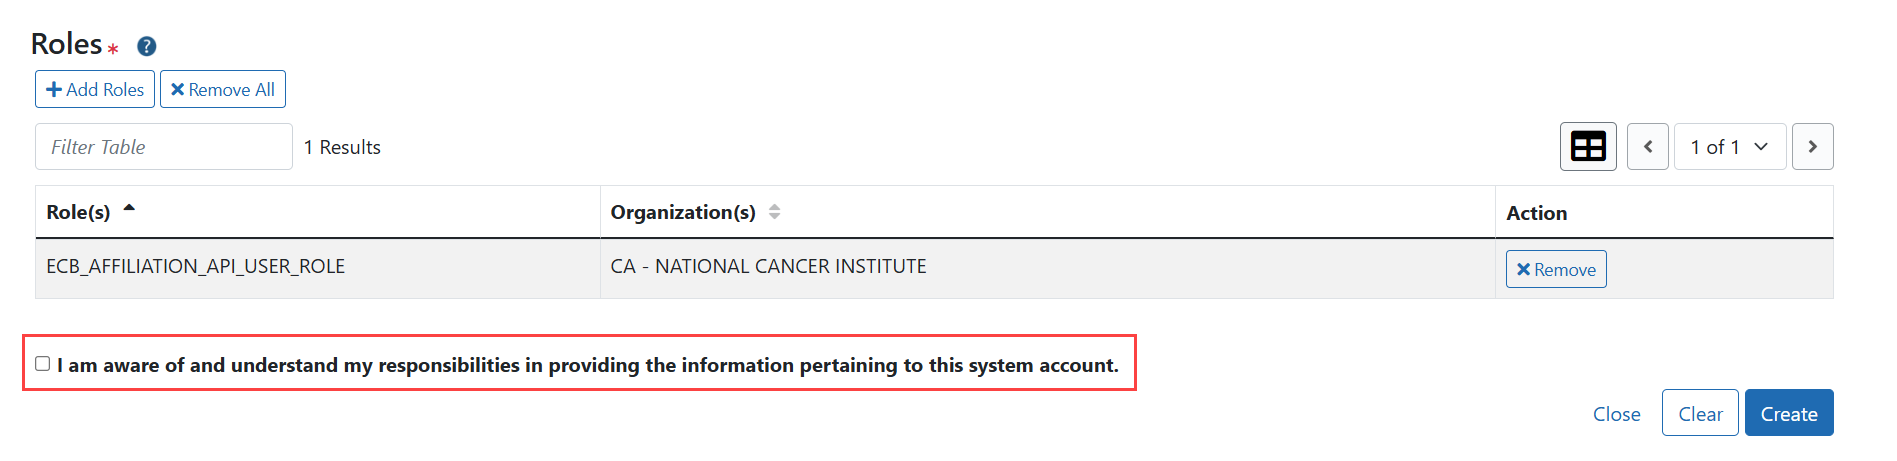
The Agreement check box is mandatory for the user to acknowledge information provided for the system account. If the Agreement checkbox is not checked and the Save button is clicked, the system displays the following error message: User must accept the agreement by checking the field.
-
Click the Create button to create the account or click Clear to clear all fields.
When you click Create, the system validates the account information. If there are no errors, then the Account Detailsscreen opens, displaying a success message.
Other Actions:
- Click the Validate Certificate button to validate the certificate. See Validate Certificate for more information.
- Click the Manage button if you want to make additional changes. See Manage System Accounts for more information.
- Click the Back to Search button to return to the Search Account screen.
