Program Notebook
Click a grant number or the notebook icon ![]() in any portfolio or search results screen to open a grant's program notebook.
in any portfolio or search results screen to open a grant's program notebook.
Use the program notebook to add program-related notes and documents. These materials remain associated with the grant family and can be viewed from within PMM by anyone with access to the system.
 DMS Policy Flag
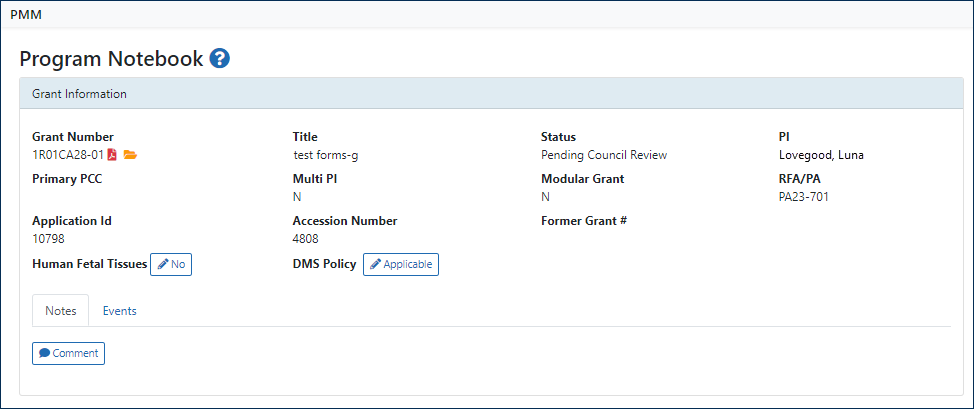
The DMS Policy flag indicates whether the NIH Data Management and Sharing policy applies to the grant. It appears as a read-only value for all applicable grants. The icon value is based on the Funding Opportunity Announcement Module (FOAM), and is not editable by program staff or any Institute/Center staff; submit any requests to change the DMS Policy value to OER.
-
The DMS Policy field values are:
-
Applicable

-
Applicable, Data Sharing Focus

-
Not Applicable

-
"--": Prior to cutoff date and not subject to DMS Policy

-
-
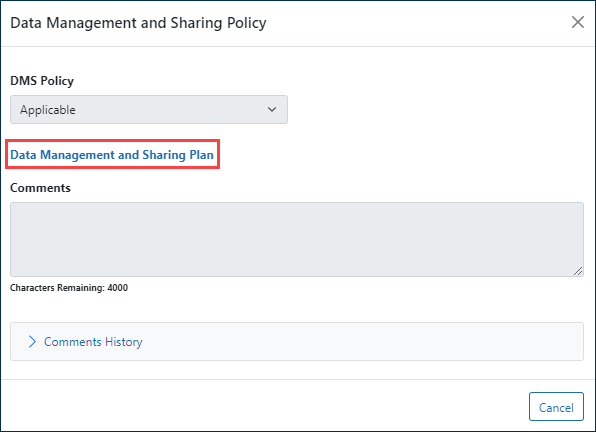
 Clicking the DMS Policy icon displays the read-only pop-up screen with link to Data Management and Sharing Plan document, current comments, and any applicable comment history.
NOTE: The DMS Policy flag is not visible for grants that are not subject to the new policy (e.g., those with a due date on or before Jan 24, 2023).
 Participant Protection Code
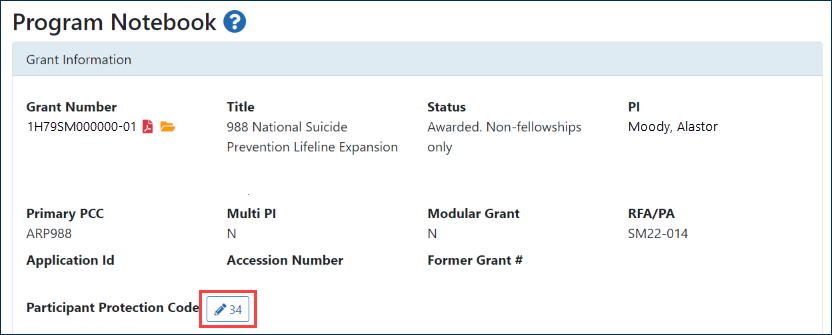
Click the ![]() edit icon next to the Participant Protection Code heading to select or change codes related to the grant.
edit icon next to the Participant Protection Code heading to select or change codes related to the grant.
A dialog box opens. Select or change the Participant Protection Code that applies to the grant and click Save.
Note: Selecting an invalid code generates an error.
-
Only PPC values of 36 or 46 may be changed to 48. If 48 is selected and the current PPC is not 36 or 46, an "Invalid Participant Protection Code" error displays.
-
Only PPC values of 36, 46, or 48 may be changed to 56. If 56 is selected and the current PPC is not 36, 46, or 48, an "Invalid Participant Protection Code" error displays.
Notes
This section displays any existing PO notes and provides the ability to add new notes.
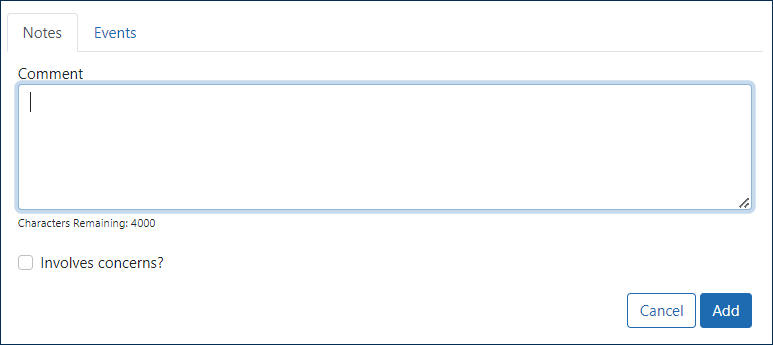
Click the Comment button to open a Comment dialog, as shown below, and enter a new PO note. Each note can be up to 4,000 characters, with no limit on the number of total notes.
Edit or delete note
Hover over an existing note; if you are the creator of the note, the edit and delete tools ![]() appear. Click on the edit tool to
appear. Click on the edit tool to ![]() add a comment.
add a comment.
Events
System events are displayed in the Events tab, displaying content for items such as summary statement release, PO approval and State Dept. clearance approval,
Attachments
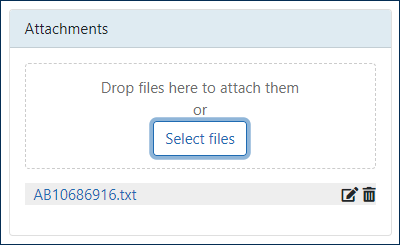
Use the Attachments area to attach files to the Program Notebook. Drag and drop your file or click Select files to browse and select a file. Once the file loads, you can hover over the file title and the edit and delete tools ![]() will appear.
will appear.
Links
Use the Links tool to add a live URL to the notebook:
When you paste the internet address into the URL field, the system automatically adds a title based on the title of the target internet page, as shown below. The title can be edited as needed.
Paste the internet address into the URL field and paste or type a title into the Title field.
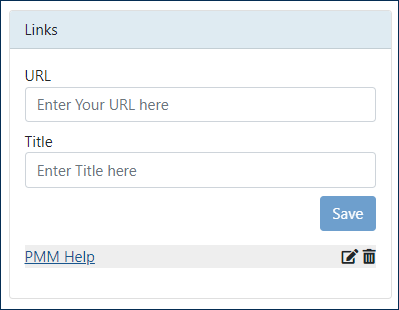
Change the title if you wish, then click Save to create a clickable link. If necessary, you can roll your mouse over the link to expose the edit and delete tools. ![]()
Human Fetal Tissues
- Click the
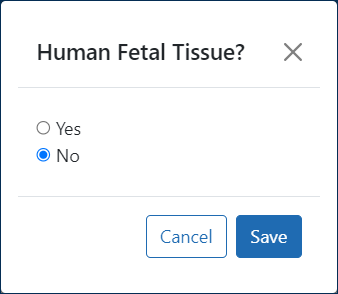
 Human Fetal Tissues Yes / No field to open a selector and indicate whether human fetal tissues are used in this project:
 - Select Yes or No and click Save.
Labels
For NIH non-competing Type 3 awards, the Program Notebook shows the labels of admin supplements:
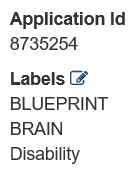
And you can click the Labels edit icon  to open an editing window where you can add or remove labels:
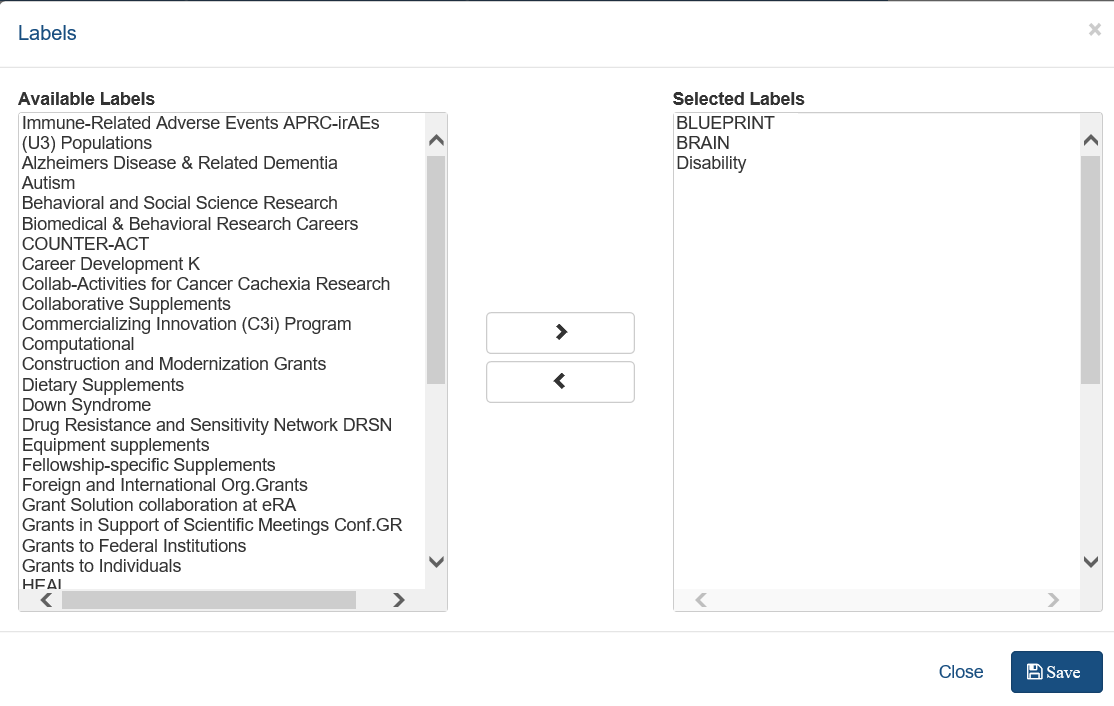
- To edit, select labels in the Available or Selected pane, and click the left or right arrow to move the selected labels to the other pane. Then click Save.
