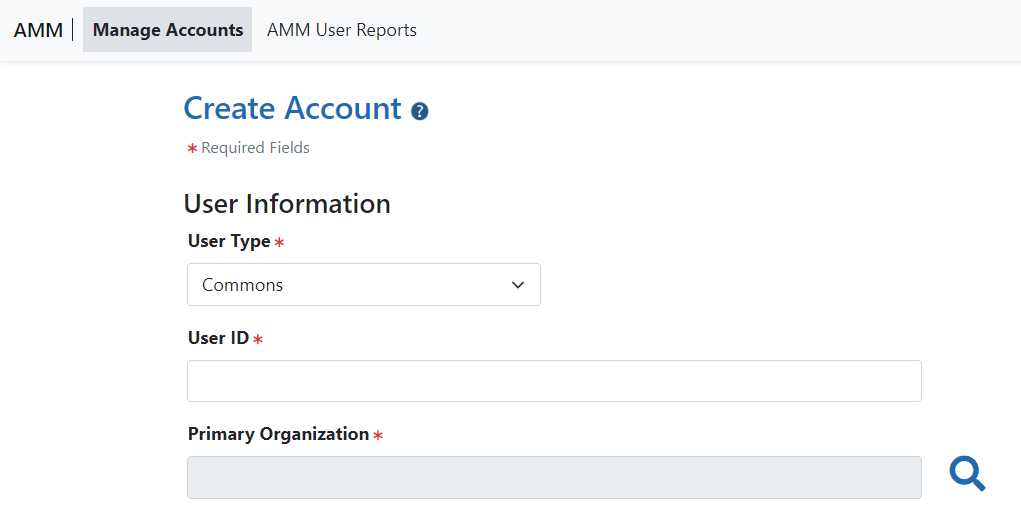
Set Primary Organization
NOTE: The magnifying glass for the Primary Organization field on the Create Account screen appears if the logged-in user is not affiliated with an Organization, IC, or Agency. Usually the Primary Organization defaults to the logged-in user's Organization.
-
Click the magnifying glass icon on the Create Account screen to open the Search Organization and Add Roles and add a primary orgnization.
-
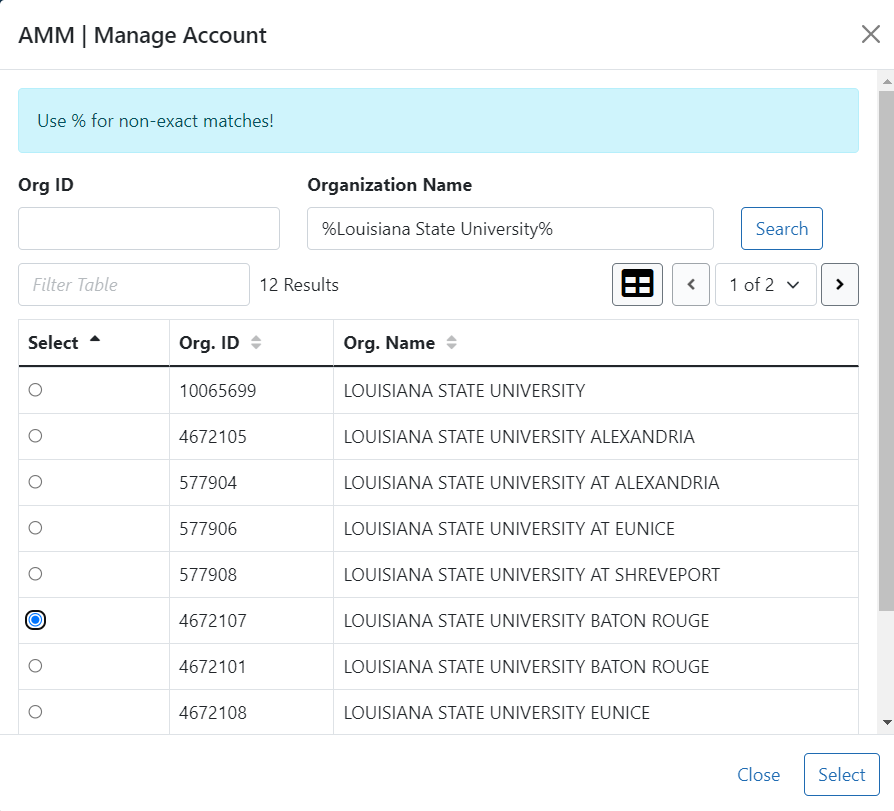
Enter an Org ID or an Organization Name.
-
Click the Search button to display the organization search results.
-
To filter the search results, enter the appropriate value in the Filter Table text box and hit the <Enter> key. For example, enter San Diego to view only those universities in California.
-
To change the number of records per page, select the appropriate number in the Show per page column.
-
To navigate between pages, perform one of the following options:
-
Click the appropriate Page Number button.
-
Click the right arrow button to go to the end of the list.
-
Click the left arrow button to go to the beginning of the list.
-
-
Select the appropriate organization's radio button.
-
Click the Select button or click the Close button to close the screen.
NOTE: Use the percent sign (%) before or after a string of characters for wild card searches.
The Create Account screen then displays the selected primary organization. For more information see
