User Reports
AMM includes the following reports capabilities:
- All Users Report — Information on all user accounts in your organization.
- Inactive Users Report — Lists user accounts that have been locked due to inactivity. For internal users only.
- Deactivated Users Report — Lists user accounts that have been deactivated by an administrator. For internal users only.
- Role Description Report for Agency Accounts — Lists all Agency roles, role descriptions, and associated privileges for any business area. For internal users only.
- Role Description Report for System Accounts — Lists all System roles, role descriptions, and associated privileges for any business area. For internal users only.
To open the reporting functions, click the AMM User Reports tab.
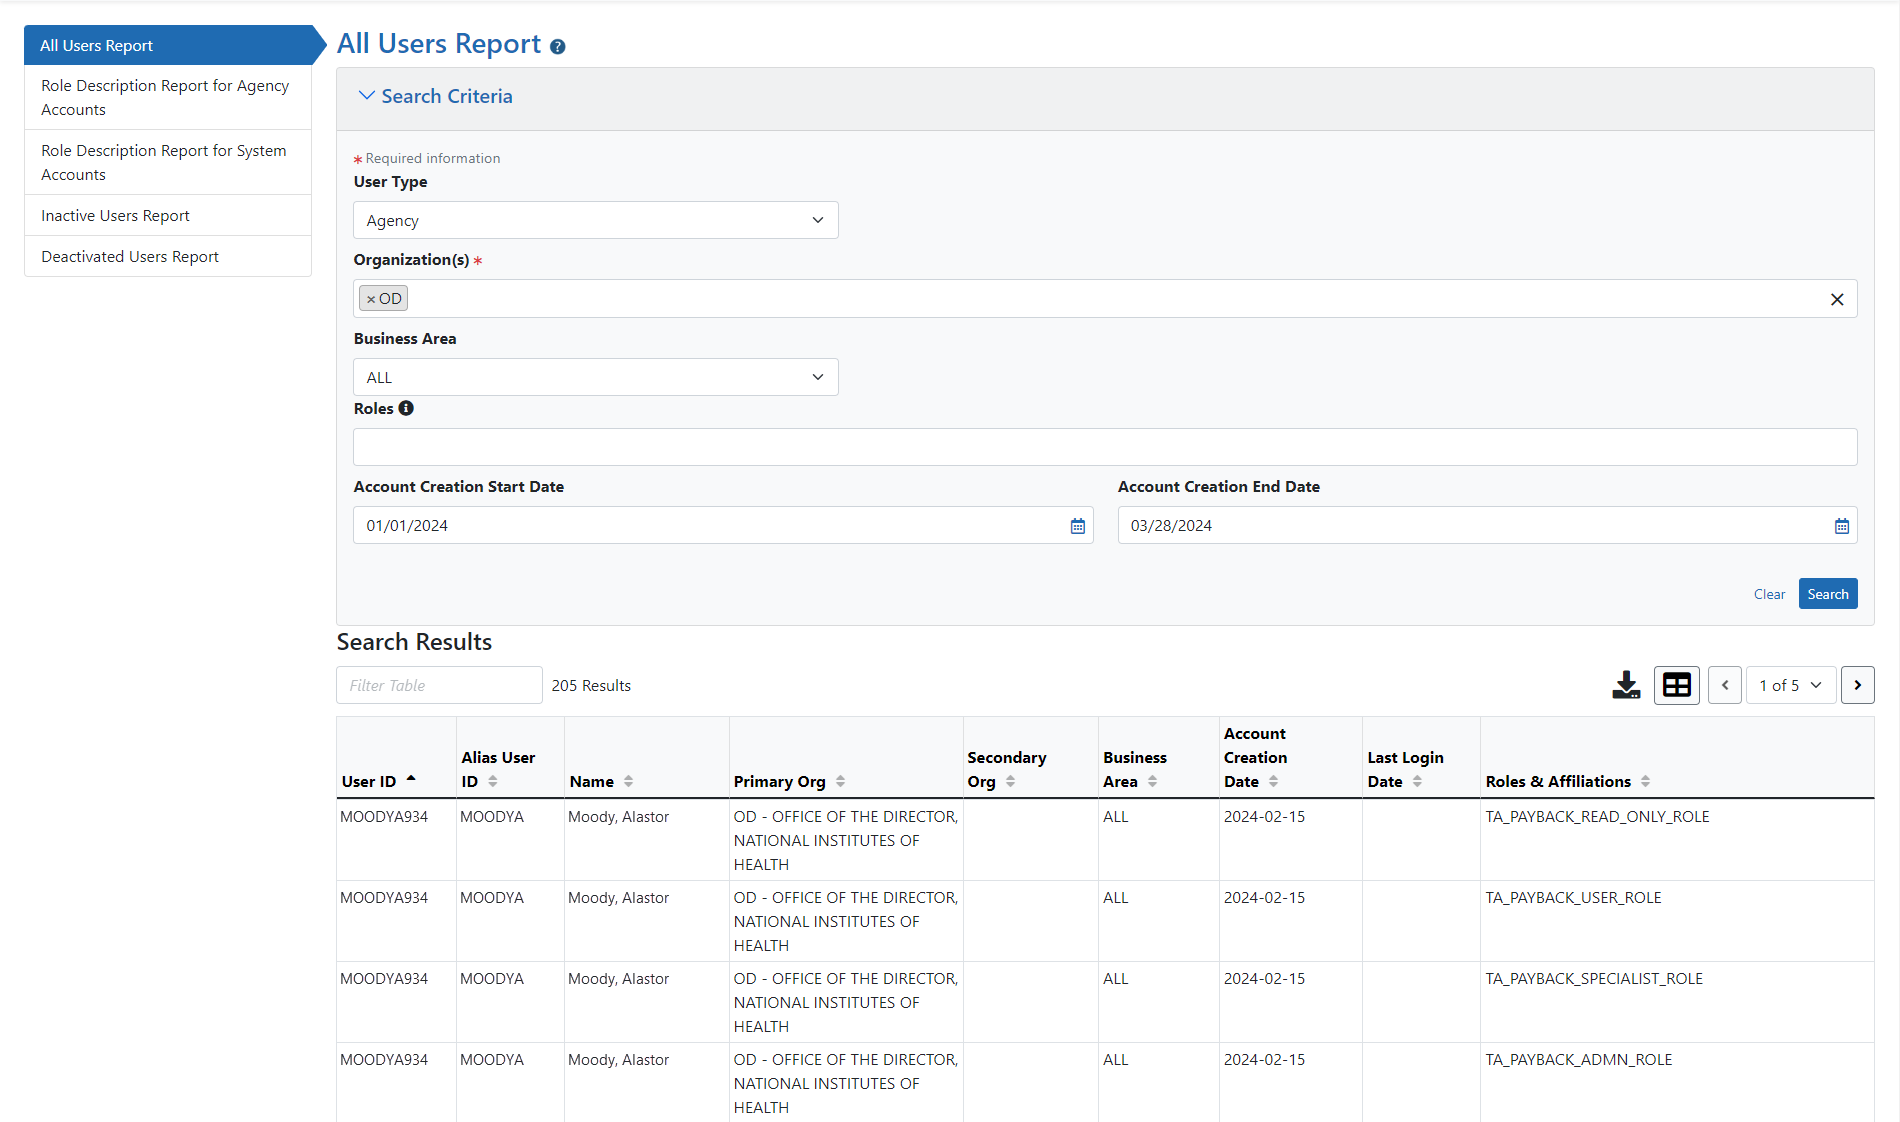
The All Users Report screen opens. There are two versions of this screen, as shown below. The version you see depends on the organization you belong to.
TIP: To select multiple organizations, roles, or business areas, hold the <Ctrl> key as you click.
All Users Report Screen for External Users

Figure 8: All Users Report Screen for External Users
Use this screen to run an All Users Report on external users. The All Users Report button is selected by default. Follow the steps below to launch the report.
-
Select "Commons" in the User Type field and set the search criteria in the other fields as follows:
-
Organization — This field displays your organization name. Service Desk agents, to select an organization, begin typing the name or ID number in this field. The live search function displays organization names as you type. When the one you want appears, scroll down and select it.
NOTE: This field is mandatory.
-
Roles — Leave this field blank to report all user roles. To limit the report to one or more user roles, click this field to open the drop-down menu or begin typing the name of a role. The live search function displays roles as you type. When the one you want appears, scroll down and click to select it.
- Account Creation Start Date/End Date — Leave these fields blank to report all time periods. To limit the report to a certain time period, enter a start date, end date, or start and end dates. Enter dates in MM/DD/YYYY format or click the calendar icon to select them from the calendar.
- When you finish entering search criteria, click Search to run the report.
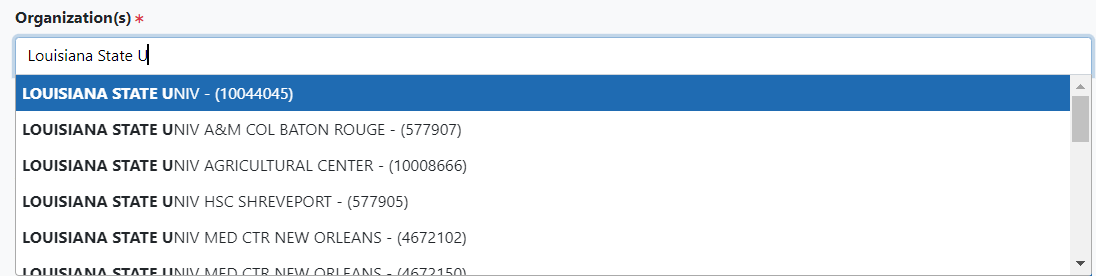
Figure 9: Organization field, external

Figure 10: Roles drop-down menu
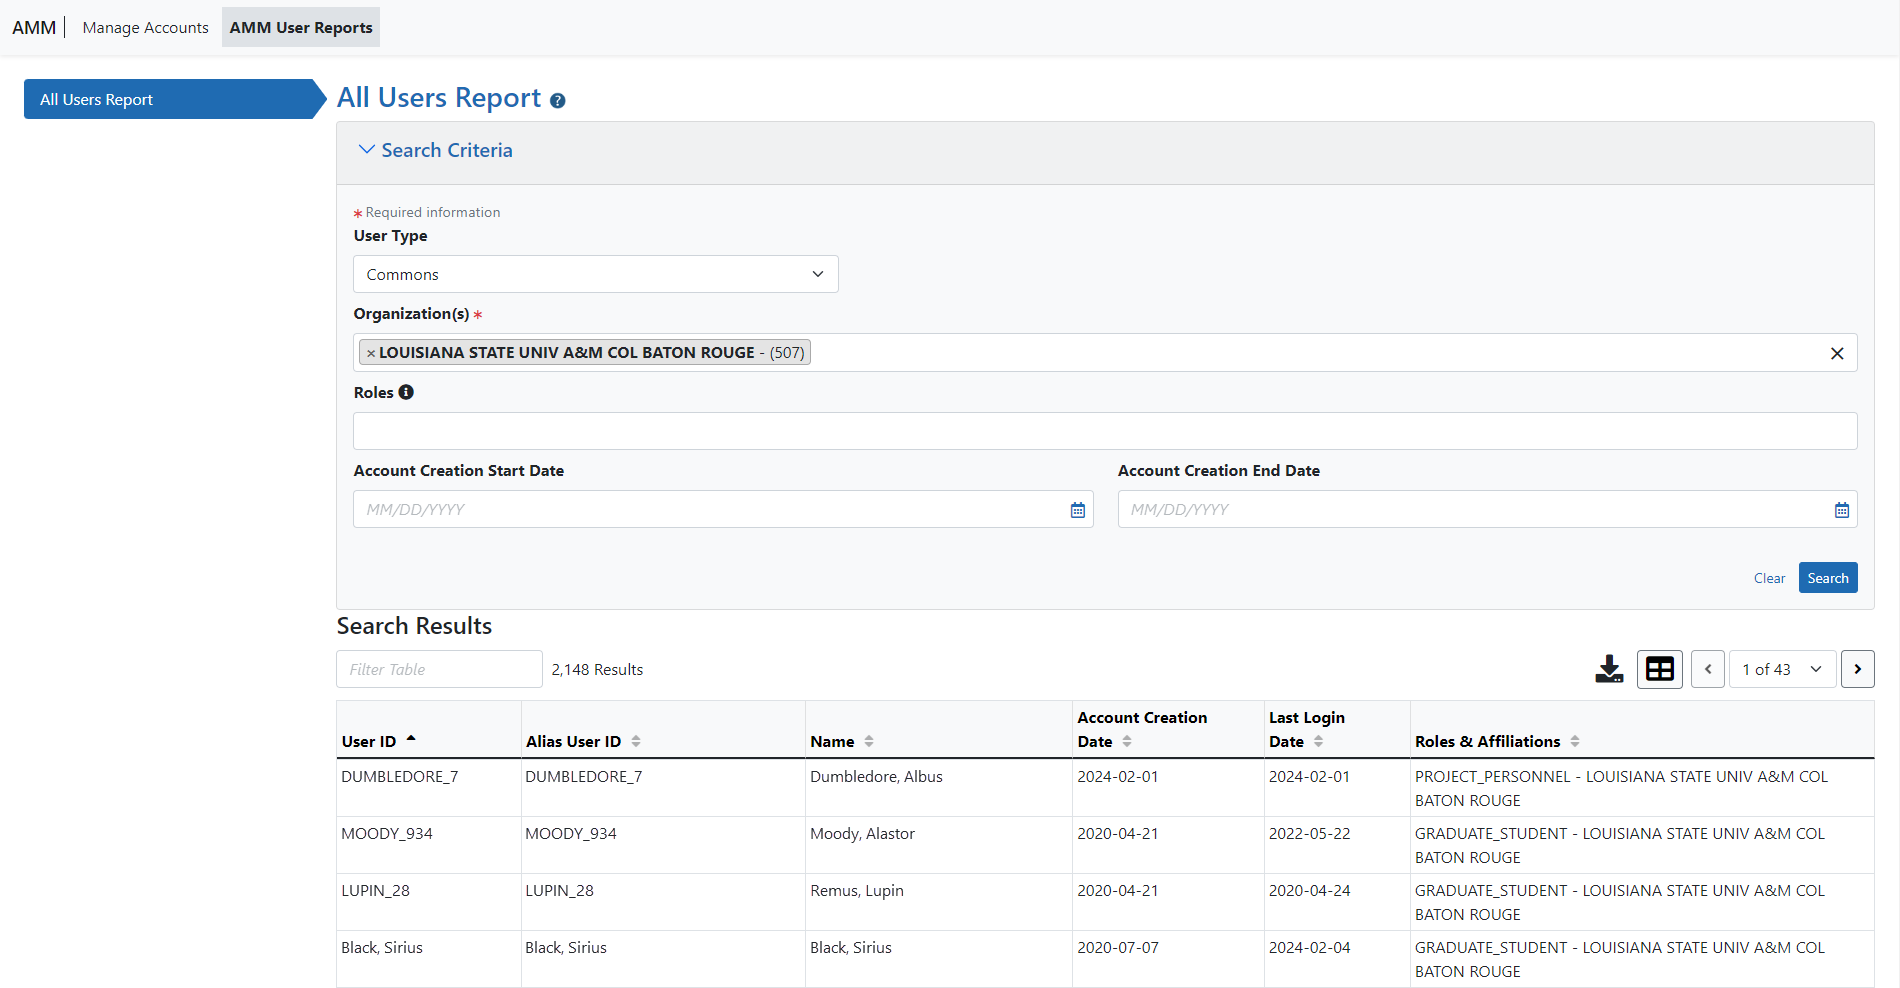
Figure 11: All Users Report output
Navigating Report Outputs
These tips for browsing, filtering and exporting the report output apply to all report types. Report output displays include several control options:

- To filter the report, type some text in the Filter field, such as a name. Only rows that contain the filter term display, and all instances of the filter text are highlighted in yellow:
- To adjust the number of records displayed, select a number in the Show per page drop-down menu.
- To navigate the report pages, click a Page Number or use the left and right arrow buttons.
- To re-sort the report columns in ascending or descending order, click the up/down arrows in the column headers.
- To export the report output as an Excel spreadsheet or PDF, click the appropriate Export button:
- Excel — When you click this button, an open-or-save dialog opens.
- Click Open to open the report data in Excel. A new Excel window opens. Click the Enable Editing button in the yellow bar at the top of the worksheet to work with the data.
- PDF — Click this button to save the report as a PDF file. A save dialog opens. Choose a location and save the file.


